1. python-docx模块介绍
-
python-docx为Python第三方模块,用于自动化生成和修改Word文档。
-
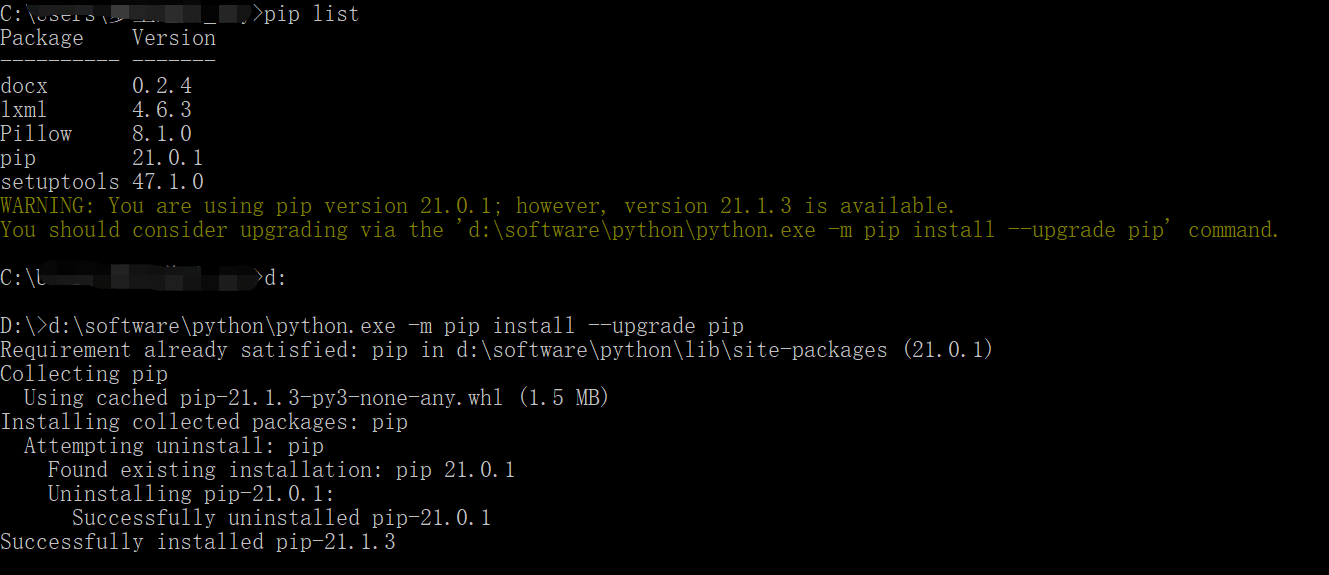
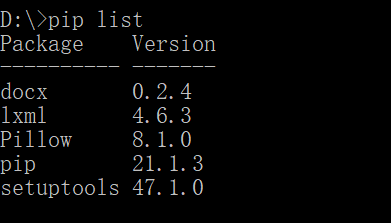
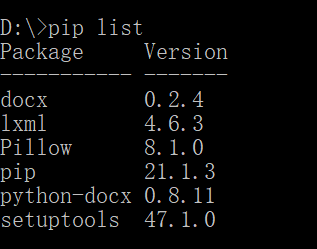
查看:pip list
-
安装:pip install python-docx

-
导入:import docx
2. python-docx模块使用
2.1 写入文本
from docx import Document
from docx.shared import Pt,RGBColor
document = Document()
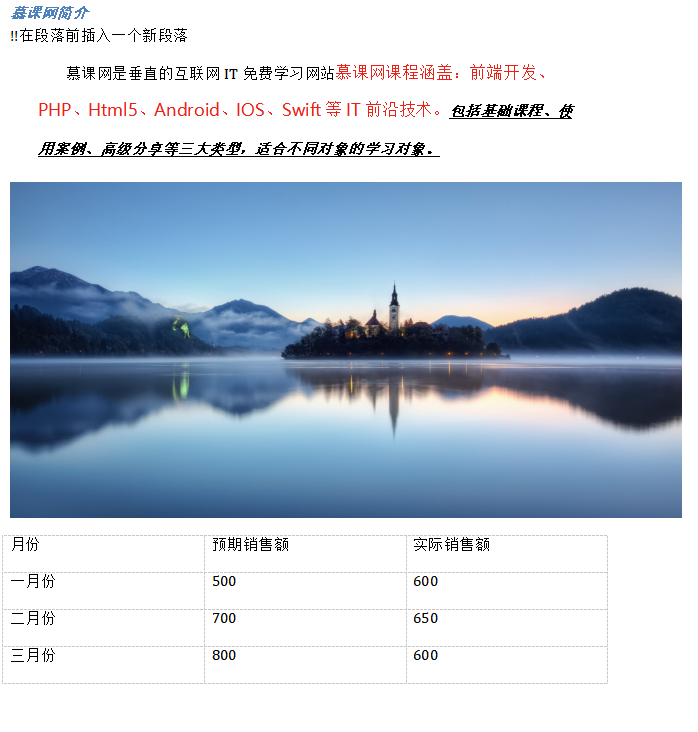
document.add_heading('慕课网简介', level=4)
p1 = document.add_paragraph('慕课网是垂直的互联网IT免费学习网站')
p1.insert_paragraph_before('!!在段落前插入一个新段落')
format = p1.paragraph_format
format.left_indent = Pt(20)
format.right_indent = Pt(20)
format.first_line_indent = Pt(20)
format.line_spacing = 1.5
run = p1.add_run('慕课网课程涵盖:前端开发、PHP、Html5、Android、IOS、Swift等IT前沿技术。')
run.font.size = Pt(12)
run.font.name = '微软雅黑'
run.font.color.rgb = RGBColor(235, 33, 24)
run1 = p1.add_run('包括基础课程、使用案例、高级分享等三大类型,适合不同对象的学习对象。')
run1.bold = True
run1.font.underline = True
run1.font.italic = True
document.save('info.docx')
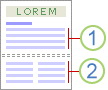
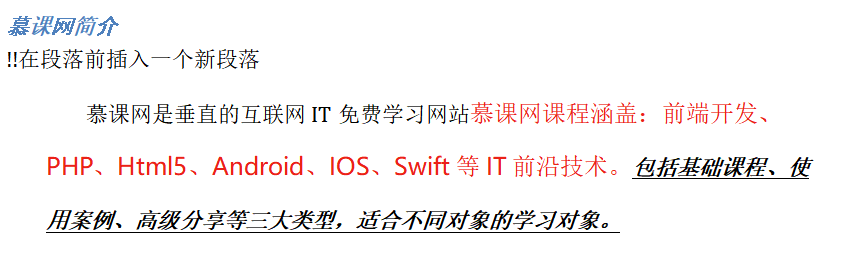
执行效果:
2.2 插入图片与表格
from docx import Document
from docx.shared import Pt,RGBColor
document = Document()
document.add_heading('慕课网简介', level=4)
p1 = document.add_paragraph('慕课网是垂直的互联网IT免费学习网站')
p1.insert_paragraph_before('!!在段落前插入一个新段落')
format = p1.paragraph_format
format.left_indent = Pt(20)
format.right_indent = Pt(20)
format.first_line_indent = Pt(20)
format.line_spacing = 1.5
run = p1.add_run('慕课网课程涵盖:前端开发、PHP、Html5、Android、IOS、Swift等IT前沿技术。')
run.font.size = Pt(12)
run.font.name = '微软雅黑'
run.font.color.rgb = RGBColor(235, 33, 24)
run1 = p1.add_run('包括基础课程、使用案例、高级分享等三大类型,适合不同对象的学习对象。')
run1.bold = True
run1.font.underline = True
run1.font.italic = True
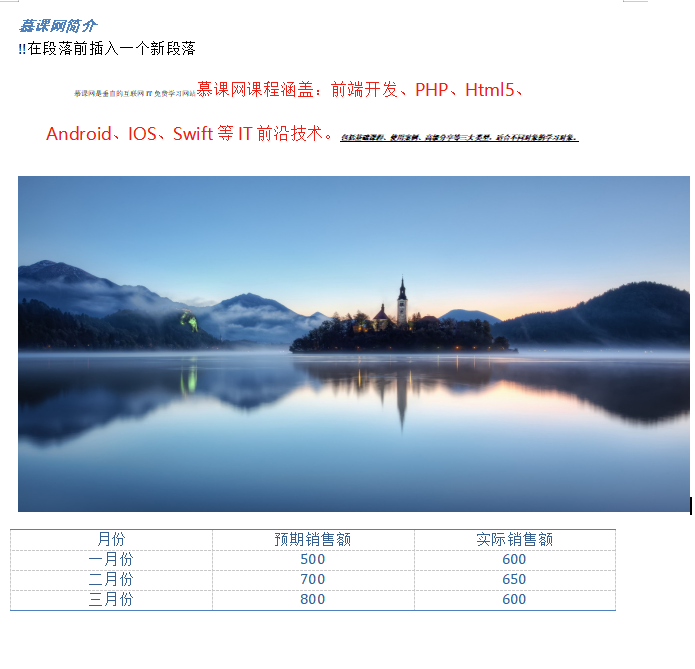
document.add_picture('test.jpg', Pt(480), Pt(240))
table = document.add_table(rows=1, cols=3)
header_cells = table.rows[0].cells
header_cells[0].text = '月份'
header_cells[1].text = '预期销售额'
header_cells[2].text = '实际销售额'
data = (
['一月份', 500, 600],
['二月份', 700, 650],
['三月份', 800, 600],
)
for item in data:
rows_cells = table.add_row().cells
rows_cells[0].text = item[0]
rows_cells[1].text = str(item[1])
rows_cells[2].text = str(item[2])
print(len(document.tables[0].rows))
print(len(document.tables[0].columns))
print(document.tables[0].cell(0, 2).text)
document.save('info.docx')
执行效果:
2.3 word样式处理
from docx import Document
from docx.shared import Pt, RGBColor
from docx.enum.style import WD_STYLE_TYPE
from docx.enum.table import WD_TABLE_ALIGNMENT
document = Document()
document.add_heading('慕课网简介', level=4)
style = document.styles.add_style('textStyle', WD_STYLE_TYPE.PARAGRAPH)
print(style.style_id)
print(style.name)
style.font.size = Pt(5)
'''
样式属性分为两类:
1.行为属性
2.格式属性
'''
p1 = document.add_paragraph('慕课网是垂直的互联网IT免费学习网站', style='textStyle')
p1.insert_paragraph_before('!!在段落前插入一个新段落')
format = p1.paragraph_format
format.left_indent = Pt(20)
format.right_indent = Pt(20)
format.first_line_indent = Pt(20)
format.line_spacing = 1.5
run = p1.add_run('慕课网课程涵盖:前端开发、PHP、Html5、Android、IOS、Swift等IT前沿技术。')
run.font.size = Pt(12)
run.font.name = '微软雅黑'
run.font.color.rgb = RGBColor(235, 33, 24)
run1 = p1.add_run('包括基础课程、使用案例、高级分享等三大类型,适合不同对象的学习对象。')
run1.bold = True
run1.font.underline = True
run1.font.italic = True
document.add_picture('test.jpg', Pt(480), Pt(240))
table = document.add_table(rows=1, cols=3, style='Light Shading Accent 1')
header_cells = table.rows[0].cells
header_cells[0].text = '月份'
header_cells[1].text = '预期销售额'
header_cells[2].text = '实际销售额'
data = (
['一月份', 500, 600],
['二月份', 700, 650],
['三月份', 800, 600],
)
for item in data:
rows_cells = table.add_row().cells
rows_cells[0].text = item[0]
rows_cells[1].text = str(item[1])
rows_cells[2].text = str(item[2])
for r in range(len(document.tables[0].rows)):
for c in range(len(document.tables[0].columns)):
table.cell(r, c).paragraphs[0].paragraph_format.alignment = WD_TABLE_ALIGNMENT.CENTER
print(len(document.tables[0].rows))
print(len(document.tables[0].columns))
print(document.tables[0].cell(0, 2).text)
document.save('info.docx')
执行效果:
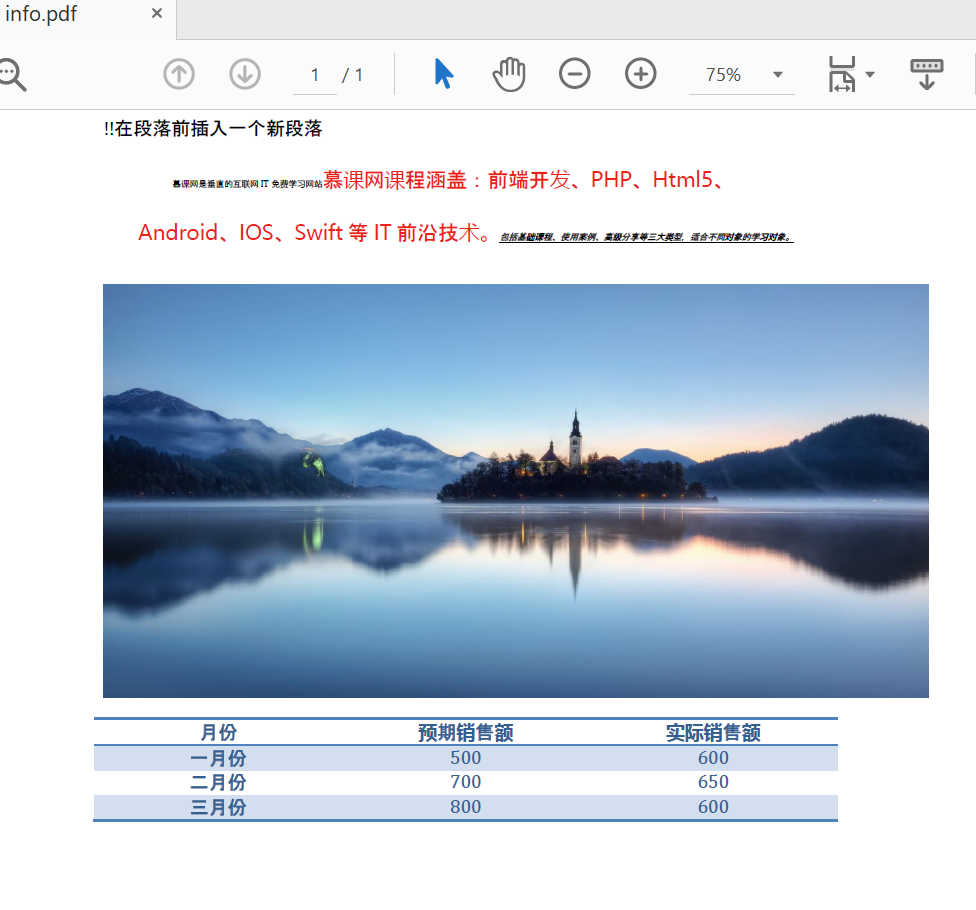
2.4 Word转换PDF
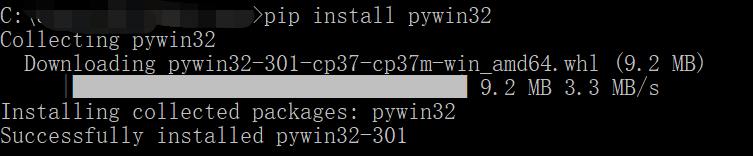
首先需要安装pywin32:pip install pywin32。
from win32com.client import constants, gencache
def createpdf(wordPath, pdfPath):
word = gencache.EnsureDispatch('Word.Application')
doc = word.Documents.Open(wordPath, ReadOnly=1)
doc.ExportAsFixedFormat(pdfPath, constants.wdExportFormatPDF)
word.Quit()
createpdf('E:/pythonProject/project3/info.docx', 'E:/pythonProject/project3/info.pdf')
执行效果:
from win32com.client import constants, gencache
import os
def createpdf(wordPath, pdfPath):
word = gencache.EnsureDispatch('Word.Application')
doc = word.Documents.Open(wordPath, ReadOnly=1)
doc.ExportAsFixedFormat(pdfPath, constants.wdExportFormatPDF)
print(os.listdir('.'))
wordFiles = []
for file in os.listdir('.'):
if file.endswith(('.doc', '.docx')):
wordFiles.append(file)
print(wordFiles)
for file in wordFiles:
filePath = os.path.abspath(file)
index = filePath.rindex('.')
pdfPath = filePath[:index] + '.pdf'
print(filePath)
createpdf(filePath, pdfPath)
3. 综合实战:考试系统生成Word试卷
3.1 实现步骤
-
步骤一:xlrd模块读取Excel数据
-
步骤二:随机试题与选项顺序
-
步骤三:python-docx模块生成Word试卷文件
3.2 生成Word试卷
import xlrd
import random
from docx import Document
from docx.shared import Pt, RGBColor
from docx.enum.text import WD_ALIGN_PARAGRAPH
data = xlrd.open_workbook('data3.xls')
sheet = data.sheet_by_index(0)
class Question:
pass
def createQuestion():
questionList = []
for i in range(sheet.nrows):
if i>1:
obj = Question()
obj.subject = sheet.cell(i, 1).value
obj.questionType = sheet.cell(i, 2).value
obj.option = []
obj.option.append(sheet.cell(i, 3).value)
obj.option.append(sheet.cell(i, 4).value)
obj.option.append(sheet.cell(i, 5).value)
obj.option.append(sheet.cell(i, 6).value)
obj.score = sheet.cell(i, 7).value
questionList.append(obj)
random.shuffle(questionList)
return questionList
def createPaper(fileName, paperName, questionList):
document = Document()
section = document.sections[0]
header = section.header
p1 = header.paragraphs[0]
p1.text = paperName
p1.alignment = WD_ALIGN_PARAGRAPH.CENTER
footer = section.footer
p2 = footer.paragraphs[0]
p2.text = "内部试题,禁止泄露"
p2.alignment = WD_ALIGN_PARAGRAPH.CENTER
title = document.add_heading(paperName, level=1)
title.alignment = WD_ALIGN_PARAGRAPH.CENTER
p3 = document.add_paragraph()
p3.add_run('姓名:______')
p3.add_run('所属部门:______')
p3.alignment = WD_ALIGN_PARAGRAPH.CENTER
for question in questionList:
subject = document.add_paragraph(style='List Number')
run = subject.add_run(question.subject)
run.bold = True
subject.add_run('【%s分】' % str(question.score))
random.shuffle(question.option)
for index, option in enumerate(question.option):
document.add_paragraph(('ABCD')[index] + str(option))
document.save(fileName)
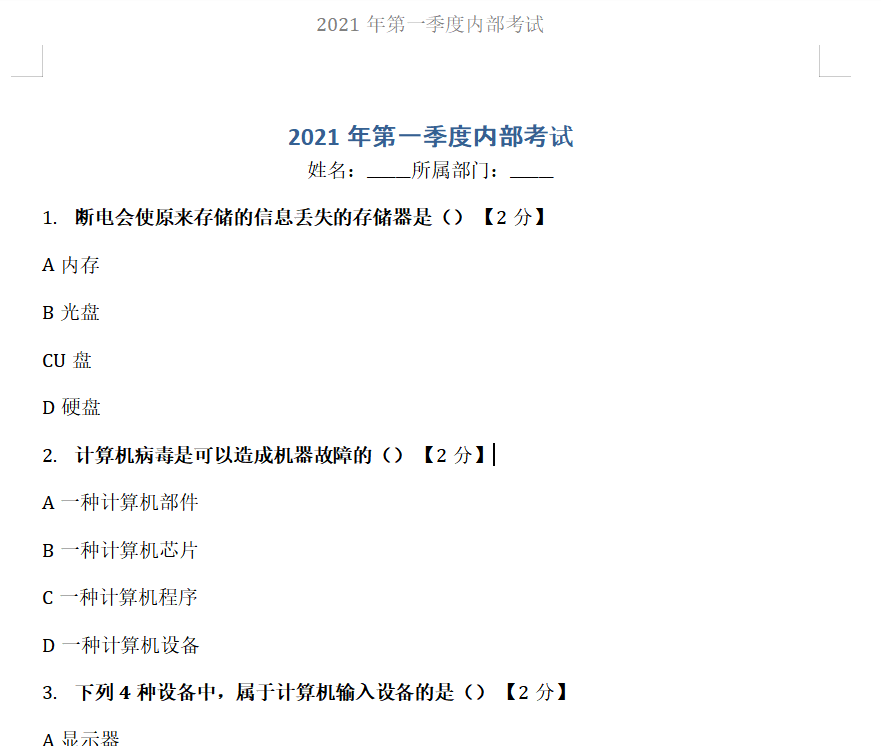
for i in range(10):
questionList = createQuestion()
createPaper('paper'+str(i+1)+'.docx', '2021年第一季度内部考试', questionList)
执行效果:
|